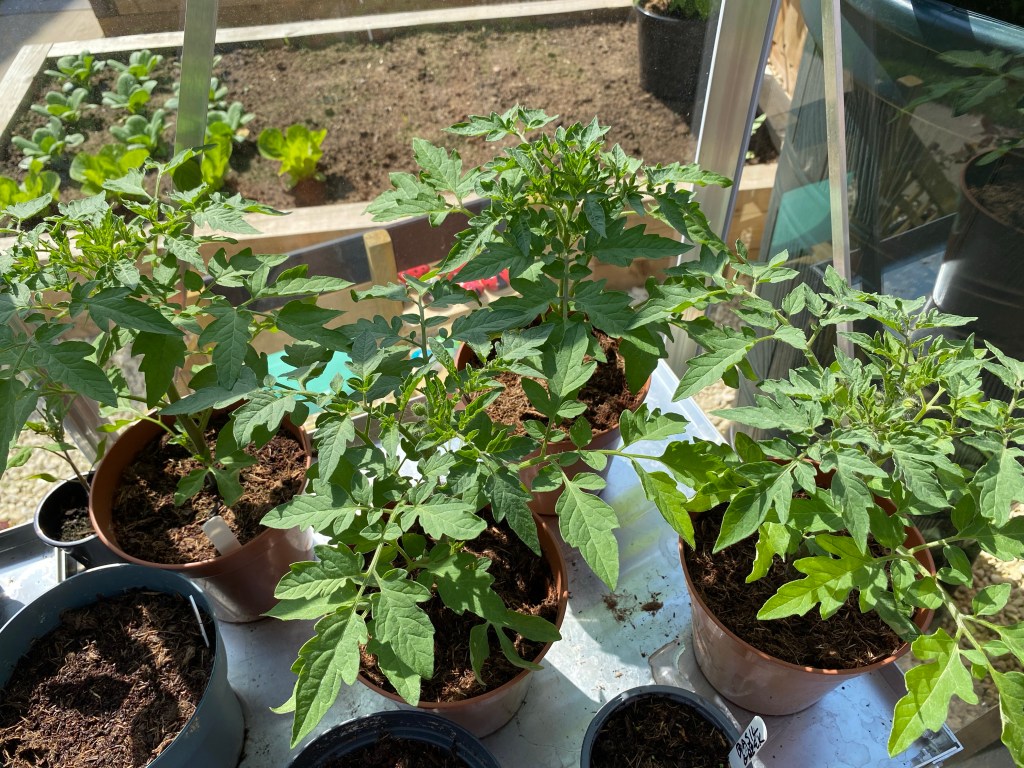
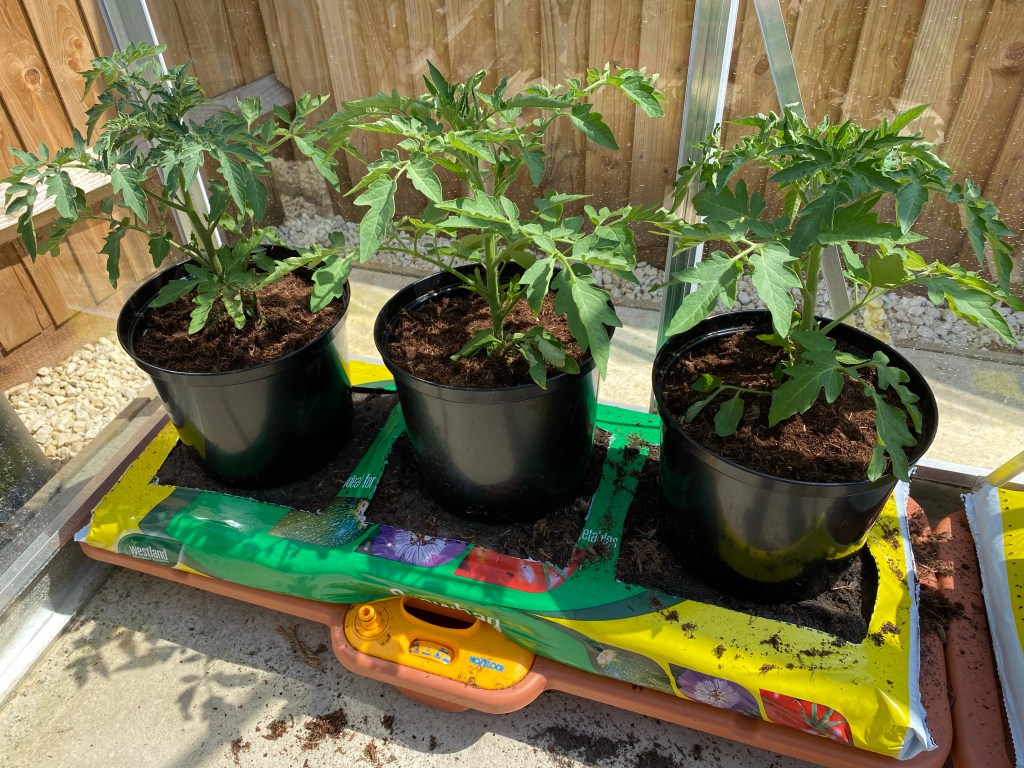
Last week my Vine Tomato plants – Variety: Costoluto Genovese where looking strong and tall and ready to go into the grow bags for their final positioning.
I have been researching methods of growing tomatoes in a greenhouse as the difference from growing outside, is that they will need more water due to the soil drying out more often.
Also to consider is that tomatoes have a large tap root which goes down into the soil to find and draw up the water. This is why bottomless pots are a good idea to sit on top of the Growbag and some of the smaller shallower roots would be perfect in a grow bag.
There are a number of Setups for Growing Tomatoes in a greenhouse (you can use a grow tray with gravel) but this is the one I have chosen to grow with.
Growing Tomatoes in a Greenhouse with a watering system
You will need:
- A Hozelock Growbag waterer (for 3 plants),
- A Growbag with compost for growing tomatoes or multipurpose,
- 3 x Bottomless Plastic Pots,
- Multi purpose Peat Free Compost for pots
- A cane to support the tomato plants
- 3x Established Tomato plants
How to get to grips with the Hozelock Growbag Waterer
This is a Hozelock Growbag Waterer.
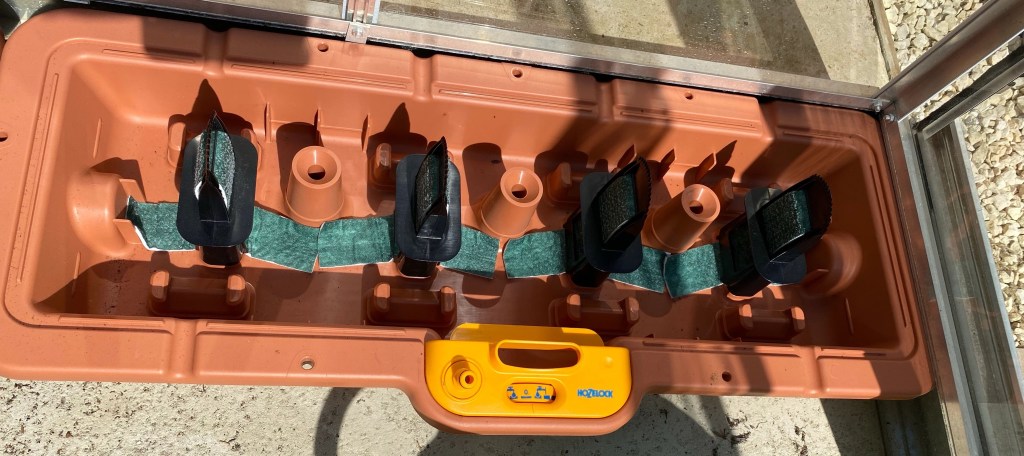
It has some dark green water wicking capillary material strips which are thred through and over the black serrated grow bag spikes that point upwards. This enables the water to be drawn upwards through the strips of material and into the grow bag and into the tomato plant. The water unit holds up to 15 litres of water.
There is a handy dial at the front of the Waterer which shows when the water tank is full, half full or empty. Also where the dial is located there is a hole to pour your water into to fill the unit. There is also a hose attachment to connect a hose to the unit to put the water into it.
How to Setup – Step by Step
1. Position your Hozelock Growbag Waterer where you want it in the greenhouse. As it gets a bit heavy to move after the Growbag goes on.
2. Thred the dark green water wicking strips through the upright black spikes and lay the material between the spikes on the bottom of the unit. The spikes come apart so you can thred it through. Take care as the spikes are serrated so the grow bag can be pushed onto them and it cuts the plastic.
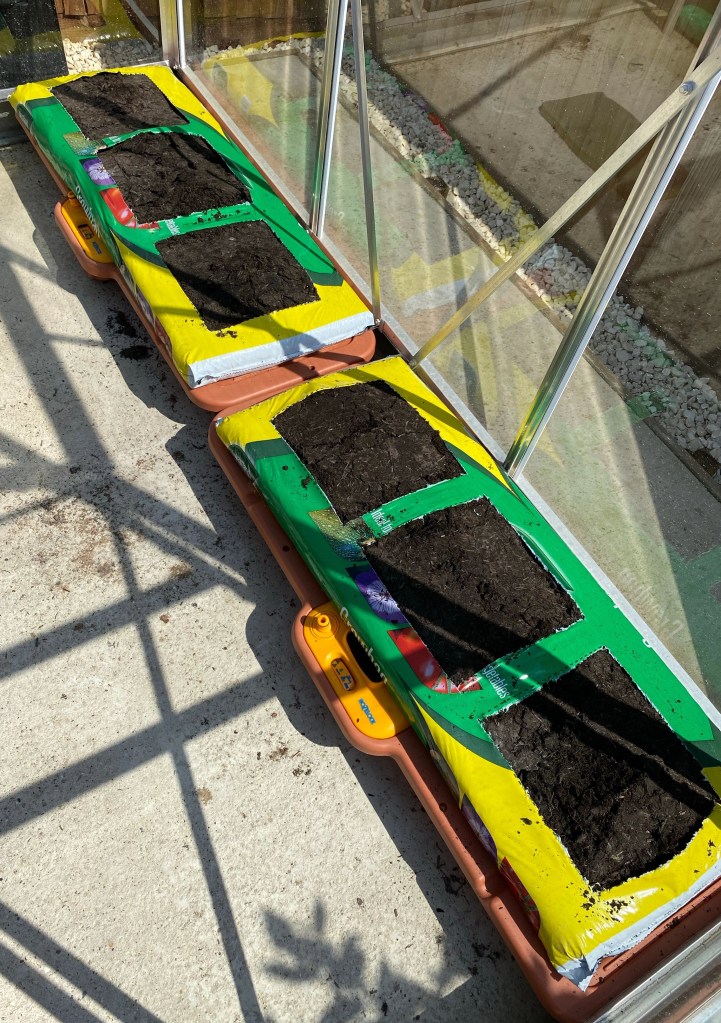
3. Pick up the grow bag and place on top of the spikes, the back seam of the Growbag should be facing downwards towards the floor. It’s important you can get to the water pouring slot at the front, so position the growbag slightly back from this before pushing the Growbag down.
4. Push the grow bag down on the spikes taking care not to hurt your hands as the spikes come through the Growbag plastic. The Growbag should be flat on top of the Hozelock Growbag Waterer. If it isn’t, wiggle it into place by holding the edges and firmly push down so it is flat.
5. With scissors, cut out the 3 Squares to remove the plastic from the grow bag. Our Growbag had dotted lines indicating where to cut the plastic. This will leave 3 Squares of compost on top of the grow bag.
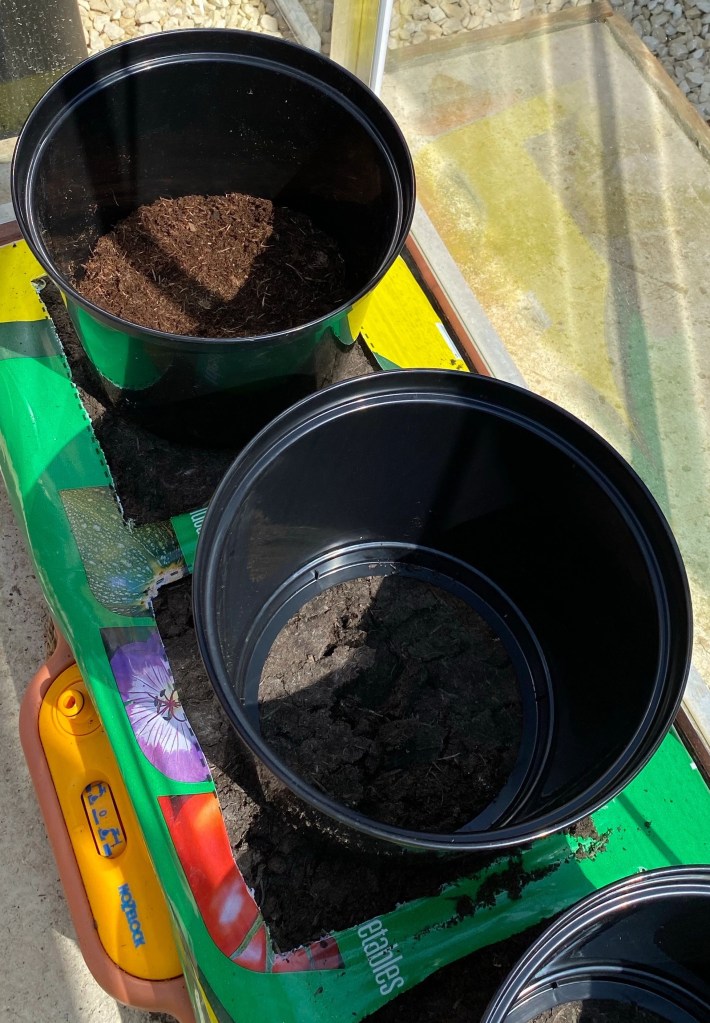
6. Get your 3 bottomless pots and place on top of the Growbag compost.
7. Fill the bottom of the bottomless pot with compost and then plant your tomato plant in the pot. Tease the roots with your fingers before planting in the new compost. The tomato plant should be planted about an inch deeper than it is in its current pot to stabilise the plant in the new pot. Add more compost around the plant and on top to secure the plant in its new pot.
8. Fill the Hozelock Growbag Waterer with water either with a watering can with a spout or attached the hosepipe to the attachment on the unit. The dial with go round the full once the unit is full with water so you can stop filling.
9. That’s it, it’s all setup and you are ready to leave your tomatoes to do their own growing and watering!
10. Check your watering system is working by checking the water dial level later in the day. Initially it will go down to about half, in half a day whilst the tomatoes take up there water through the dry compost.
11. Check the water dial every 2-4 days to start with for top up water filling for the unit.
How much does a Tomato greenhouse watering system cost?
- Hozelock Growbag Waterer = £16.75 each (if you buy out of peak growing season, then they are cheaper)
- Multipurpose Compost GrowBag £6.99
- Bottomless pots – Whitefurze Tomato Ring Planter – 23cm – £1.49 each x 3 = £4.47
- Total Cost for setup = £28.21
Advantages of using a Growbag Greenhouse waterer
- More Replacement capillary water strips can be bought from Amazon for £10.49 for 8 strips, for each season.
- The water stays in the Waterer and there’s no waste. Water is either in the unit or soaked up by the plant.
- The convenience of only having to top up the water once in 5 days for tomatoes and some vegetables you only have to top up the water up to 14 days. Perfect if you have to go on holiday.
- Easy to setup and can be used year after year.
Other Reading on Tomatoes:
Part 1 📕 Tomatoes – Origin, Nutrition and Reasons to Grow.
Part 2 📗 Tomatoes – How to Sow Tomato Seeds with Short Sowing Video
Part 3 📘 Tomatoes – How to Choose a Tomato Variety to Grow
Part 4 📙 How to Pot On your Tomato Seedlings
💦 My Tomato Greenhouse setup with Growbag watering system– l’ll be using this again this year as it was so successful.
Top 3 Tips on Getting your Tomatoes to turn Red
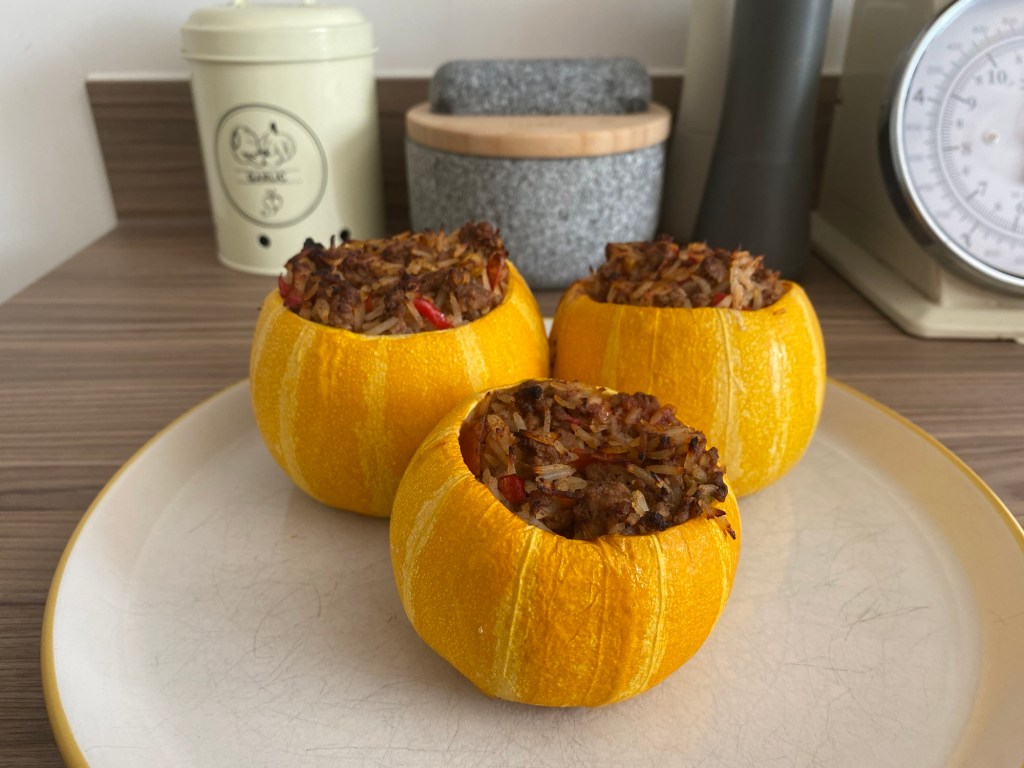
🍅 And Finally… The Italian Job – Tomato Harvest – last year’s Italian tomato harvest.


Leave a comment